A long door can look perfectly straightforward until its top edge meets a sloping floor or a narrow frame. A few millimeters matter. Measuring the door alone is not enough; the opening, floor level, hinges, and available clearance all affect the final fit. Long doors also magnify small errors, especially in older homes where walls may not be square. “Measure the opening at several points, not just once,” says long-door fitting specialist Martin Hale. That is the guiding principle of this introduction: careful measurements reduce surprises, but they cannot make an uneven opening disappear.
Before ordering or trimming long doors, record the opening’s width at the top, middle, and bottom, then measure its height at both sides and the center. Use the smallest relevant dimensions as a cautious starting point, and note whether flooring or carpet will change the clearance. Keep the tape level and write each reading down immediately. Simple. It is easy to trust one clean-looking number and overlook a bowed jamb or a raised tile. I have seen how one rushed measurement can turn a neat installation into repeated adjustments. Still, measuring is not a substitute for checking the manufacturer’s fitting guidance or asking a qualified installer when the opening is irregular. This guide will explain what to measure, how to record it, and which details deserve a second look before you choose long doors.
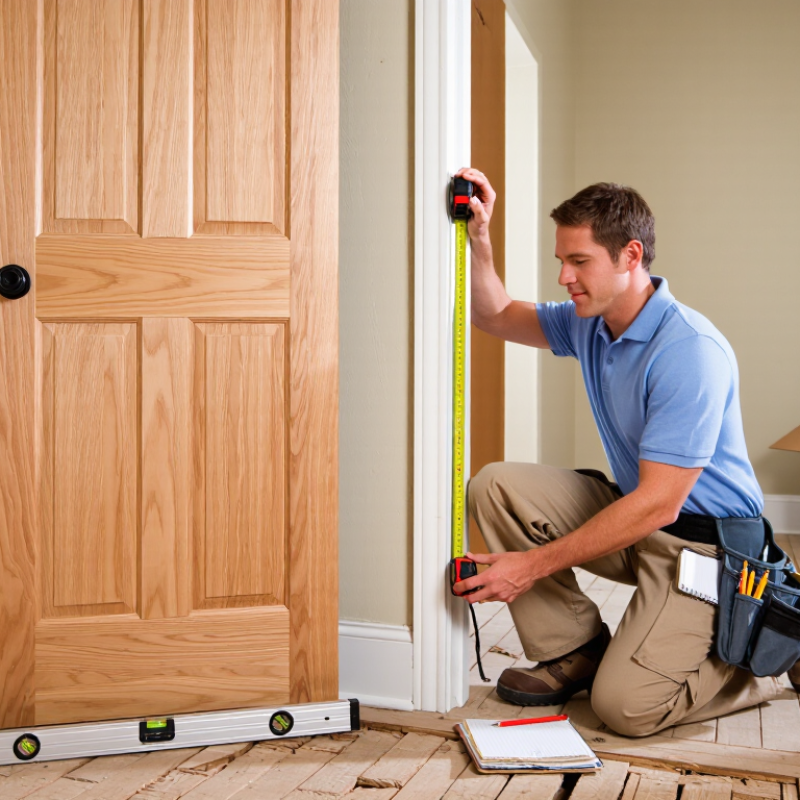
Before measuring a long door, identify what you have: a slab, a prehung unit, or a sliding or bifold assembly. The reference points differ. For a slab replacement, measure the door itself from edge to edge, top to bottom, and across its thickness. Do not treat the opening as the slab size. For a prehung unit, record the frame’s outside dimensions; if accessible, measure the rough opening between framing members too. Note the finished floor and any flooring changes, since a taller floor can reduce clearance. Measure twice.
Record the swing direction and the hardware location. Take height readings at both sides and the center; floors and headers are not always level. The 2021 International Residential Code, Section R311.2, specifies at least 32 inches of clear width and 78 inches of clear height for a required egress door. Those are passage-clearance figures, not slab dimensions. Use them as a reference, not a shortcut. Write each measurement beside its reference point, in inches. A note that says “about 36” is tempting, but not reliable.
| Door Type | Measure the Door or Opening | Reference Points | Example Measurements | Key Fit Check |
|---|---|---|---|---|
| Tall interior slab door | Measure the door slab itself, not the surrounding opening. | Height: top edge to bottom edge at the left, center, and right. Width: edge to edge at the top, middle, and bottom. Measure thickness separately. | Height: 2,400 / 2,401 / 2,399 mm Width: 820 / 821 / 820 mm Thickness: 40 mm |
Use the largest height and width readings when checking the frame. Confirm hinge positions and swing direction before ordering. |
| Tall hinged prehung door | Measure the rough opening if replacing the complete frame; measure the slab separately if replacing only the door. | Rough-opening height: from the finished floor or subfloor to the underside of the header. Width: between the framing studs at the top, middle, and bottom. | Rough opening: 2,460 mm high × 900 mm wide Existing slab: 2,400 mm high × 820 mm wide |
Check that the opening is plumb, level, and square. Allow for the frame and installation clearance; do not assume the slab size equals the rough-opening size. |
| Sliding patio door | Measure the frame opening for a replacement unit, or the clear passage if checking usable access. | Frame opening: inside edge to inside edge of the structural opening, measured at the top, middle, and bottom; measure height at both jambs and the center. | Opening width: 1,810 / 1,808 / 1,812 mm Opening height: 2,110 / 2,108 / 2,111 mm |
Record the smallest opening dimensions for unit planning. Check the sill, track, and space needed for the moving panel. |
| Bifold door set | Measure the finished opening where the track and door set will be installed. | Width: finished jamb to finished jamb at the top, middle, and bottom. Height: finished floor to the underside of the head at the left, center, and right. | Opening width: 1,200 / 1,198 / 1,201 mm Opening height: 2,100 / 2,098 / 2,100 mm |
Check that the opening is square and that the floor is level. Confirm the required track clearance and panel configuration with the door-set specifications. |
| Exterior hinged door | Measure the existing slab for a slab replacement, or the rough opening for a complete frame replacement. | Slab height and width: edge to edge at three points. Rough opening: framing stud to stud and subfloor to header; note any threshold or floor finish. | Slab: 2,400 mm high × 900 mm wide × 44 mm thick Rough opening: 2,460 mm high × 980 mm wide |
Check door thickness, threshold height, weather seals, and hinge locations. Verify the manufacturer’s required installation clearances before ordering. |
Measurement note: The figures above are illustrative field measurements, not standard door sizes. Record all readings in the same units, measure each reference point twice, and use the door or frame supplier’s specifications to confirm final sizing and clearance.