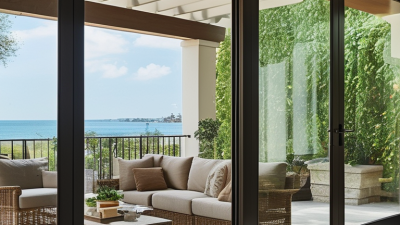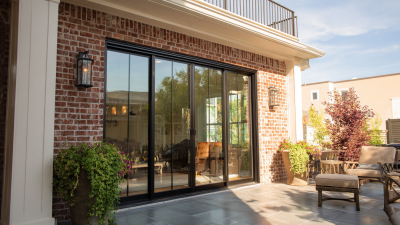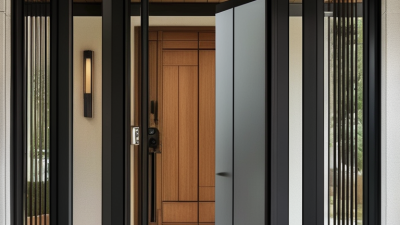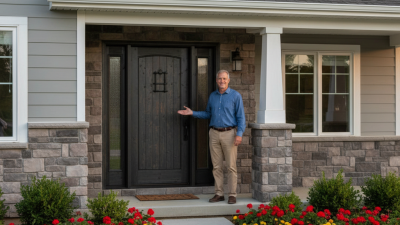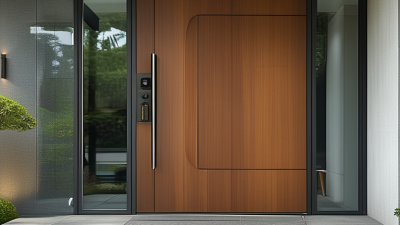
Choosing the best patio storm doors is not simply a matter of selecting attractive glass. These doors must handle wind, rain, sunlight, insects, and daily traffic. A poor fit can create drafts, rattling, water entry, or difficult locking. The right decision begins with careful measurements, including the opening width, height, frame depth, and hinge position. Measure twice. It sounds basic, but homeowners often measure the old door instead of the actual opening.
Tom Silva, a veteran general contractor and longtime home-improvement expert, offers a practical reminder: “A door is only as good as the way it is installed.” That advice matters when comparing patio storm doors. Strong materials cannot correct a twisted frame or missing weatherstripping. Look for corrosion-resistant hardware, adjustable sweeps, reinforced corners, and glass suited to your climate. Full-view panels bring more daylight, while retractable screens improve ventilation during mild weather. In colder regions, low-emissivity glass may help reduce heat loss.
Consider how the door will be used every day. Will children push against it? Will pets scratch the lower panel? Does the patio receive harsh afternoon sun? These details can change the best choice. I have seen attractive doors fail because their closers were too weak for constant use. That was an avoidable mistake.
This guide examines frame strength, glass options, ventilation, security, installation, maintenance, and long-term value. It also questions a common assumption: the most expensive patio storm doors are not always the most suitable. Performance, fit, and dependable installation should lead the decision.
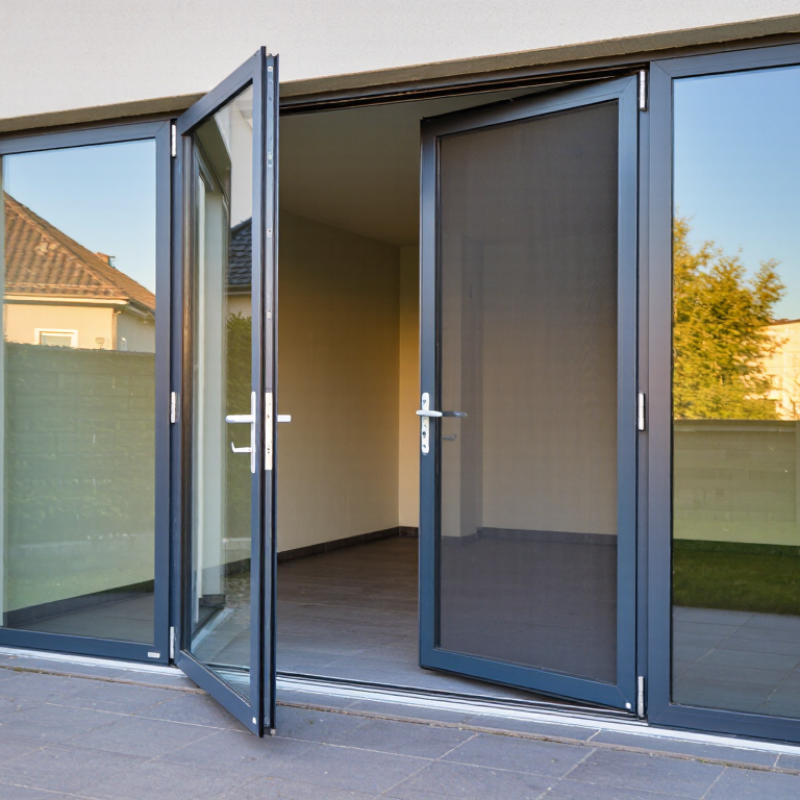
Choosing the right patio storm door starts with understanding its type. Full-view doors use large glass panels, bringing daylight into darker rooms and showing your garden clearly. They suit patios with attractive views, but fingerprints and glare require regular cleaning. Ventilating doors combine glass with a sliding screen, allowing airflow during mild weather. Retractable-screen models hide the mesh inside the frame, creating a cleaner appearance when the screen is not needed. They can feel less substantial, however, and repairs may be more specialized.
Sliding patio storm doors work well where swing space is limited. Hinged models usually provide a tighter seal and stronger closing action. Look for adjustable hinges, durable corner joints, weatherstripping, and a reinforced latch area. Low-emissivity glass can reduce heat transfer, while tempered glass offers better resistance to accidental impact. Measure the opening at several points because older homes are rarely perfectly square. I once trusted a single measurement and underestimated the threshold height. That small mistake caused drafts.
Tips: Check how the door opens during winter and where furniture sits. Choose removable screens if seasonal cleaning matters. Test the handle with one hand, especially when carrying groceries. Inspect the bottom sweep closely; it should touch the sill without dragging. A door can look excellent and still seal poorly. Ask an experienced installer to check moisture paths, frame alignment, and local weather demands before ordering.
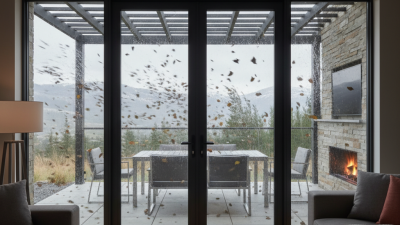
Before choosing a patio storm door, inspect the existing patio door carefully. Measure the width, height, frame depth, and threshold rise in several places. Older openings often shift slightly, so one measurement can mislead you. Check whether the door swings inward, slides, or uses a multi-panel track. These details affect clearance, hardware placement, and installation difficulty. Take photos first.
Your climate should guide the door’s materials and design. Coastal homes need corrosion-resistant hardware and sealed frames. Cold regions benefit from tighter weatherstripping and insulated glazing. In hot, humid areas, ventilation can reduce trapped heat and moisture. If strong winds or flying debris are common, consider tested impact performance and secure multi-point hardware. Confirm local building requirements before ordering. A beautiful door is not enough.
Think beyond appearance. A storm door should protect the primary patio door from rain, dust, insects, and sudden temperature changes. Check the lock compatibility, hinge strength, drainage openings, and screen storage. A strong door cannot fix a weak frame. This is easy to forget. I once focused on glass strength and overlooked a loose threshold, which allowed water beneath the frame. That mistake showed me why a full opening inspection matters. When measurements seem inconsistent, ask an experienced installer to verify them before purchase.
Choosing a patio storm door starts with the frame, not the finish. Aluminum is light, corrosion-resistant, and usually affordable. Steel feels stronger, but it can dent or rust when its coating fails. Fiberglass resists moisture and dents well, though it may cost more. In coastal areas, inspect fasteners and hinges carefully. Small hardware choices matter.
Glass changes comfort and safety. Tempered glass breaks into smaller pieces, while laminated glass holds together after impact. Low-emissivity glass can improve efficiency. The U.S. Department of Energy reports that low-e storm windows may reduce annual heating and cooling costs by 12–33% over single-pane windows. Check the NFRC label for U-factor and solar heat gain coefficient, rather than trusting a vague “energy-saving” claim. That claim alone proves little.
Screens should match how your patio is used. A full-view panel offers sunlight, while interchangeable glass and screen panels suit changing seasons. Retractable screens are convenient, but their tracks need frequent cleaning. For security, look for a reinforced frame, a strong strike plate, tamper-resistant hinges, and a lock compatible with your existing entry system. Three-point locking can add resistance, but installation quality remains critical. The FBI Crime Data Explorer can help homeowners review local burglary patterns, though it cannot predict one home’s risk. I would not choose a door from brochure photos alone. Operate the closer, test the latch, and inspect the gap around the threshold.
Compare common door materials using relative planning scores from 1 to 5, where 5 indicates stronger typical performance for the listed characteristic. Actual results depend on construction, installation, climate, and hardware.
Glass options: Low-E insulated glass generally provides better thermal performance than single-pane glass. Tempered glass is designed to break into small granules, while laminated glass uses an interlayer that helps keep broken pieces together.
Screen and security features: Retractable screens improve ventilation and can be stored out of the way. Reinforced frames, multi-point locks, heavy-duty hinges, and laminated glass can provide additional resistance to forced entry.
How to Choose the Best Patio Storm Doors for Your Home?
Accurate measurements are the foundation of a well-fitting patio storm door. Measure the opening width at the top, middle, and bottom. Record the smallest measurement. Measure the height on both sides and in the center. Use the shortest height. Check the opening diagonally, too. Unequal diagonal measurements may indicate a frame that is not square. A level, tape measure, and straightedge reveal problems that casual measuring can miss.
Inspect the mounting surface before choosing a door. The trim should be solid, reasonably flat, and wide enough for the frame screws. Check the threshold for slopes, gaps, or soft wood. Confirm that the door can swing without striking furniture, walls, or nearby glazing. Leave enough handle clearance for comfortable use. The installation guide should specify acceptable opening dimensions, fastener types, and minimum trim depth. Those details matter more than appearance.
I once measured only the top of an opening and ordered too quickly. The lower corner was nearly 6 millimeters narrower. It caused binding and required extra adjustment. That mistake was avoidable. Check plumb with a level, and inspect the sill after cleaning away dirt. Consider drainage and weather sealing around the frame. Some installations need shims, replacement trim, or professional carpentry. An imperfect opening is not automatically a problem, but ignoring it usually creates one.
| Evaluation Dimension | What to Measure or Check | Recommended Data or Standard | Why It Matters | Selection Guidance |
|---|---|---|---|---|
| Opening Width | Measure the width between the inside edges of the exterior brickmold or mounting surface at the top, middle, and bottom. | Record all 3 measurements; use the smallest width. | An uneven or tapered opening can prevent the door from fitting squarely. | Choose a door size that is no wider than the smallest measured opening. Follow the product’s stated rough-opening tolerance. |
| Opening Height | Measure from the highest point of the sill or threshold to the underside of the exterior trim at the left, center, and right. | Record all 3 measurements; use the smallest height. | The door must clear the threshold while leaving enough room for the head mounting rail. | Do not rely on a nominal door size alone; compare the measured height with the manufacturer’s required opening size. |
| Opening Squareness | Measure both diagonal distances from the upper-left corner to the lower-right corner and from the upper-right corner to the lower-left corner. | The two diagonal measurements should be equal or nearly equal. | A noticeably out-of-square frame may cause rubbing, latch misalignment, or uneven weather seals. | Correct the frame or plan for shimming and adjustment before installing the storm door. |
| Mounting Surface | Check the width and flatness of the exterior trim where the mounting rails will attach. | A continuous, solid, and reasonably flat surface is required. | Mounting rails need secure attachment points to keep the door aligned under wind and repeated use. | Repair rotten wood, loose trim, or damaged cladding before installation. |
| Door Swing | Identify the preferred handing and confirm that the door can open without hitting walls, railings, furniture, or nearby doors. | Provide a clear opening path through the full swing range. | Most storm doors are reversible, but the handle and closer still need usable clearance. | Choose left-hand or right-hand operation based on the hinge side when viewed from outside, if the product requires a fixed handing. |
| Threshold and Sill | Check the sill height, slope, condition, and whether it is level from side to side. | The sill should be stable, drain water outward, and support the bottom sweep. | An unstable or inward-sloping sill can allow water entry and make the door difficult to close. | Use compatible sill adapters or shims only when permitted by the installation instructions. |
| Fastening Surface | Determine whether the mounting area is wood, masonry, metal, vinyl, or another cladding system. | Fasteners must be suitable for the substrate and long enough to achieve secure engagement. | Incorrect fasteners can loosen, strip the frame, or damage the surrounding material. | Use corrosion-resistant exterior fasteners and follow the specified screw locations and sizes. |
| Clearance for Hardware | Measure the space between the storm-door mounting position and the primary entry door, wall, or adjacent obstruction. | Allow room for the handle, latch, closer, and full door operation. | Insufficient clearance may cause hardware interference or prevent the door from opening fully. | Check the hardware projection and installation diagrams before selecting the door configuration. |
| Weather Protection | Inspect the existing exterior door, trim, flashing, and sealant around the opening. | The opening should be protected from direct water intrusion before installation. | A storm door is not a substitute for correcting leaks, damaged flashing, or deteriorated framing. | Repair moisture damage and apply exterior-rated sealant where required by the installation instructions. |
| Ventilation and Glass/Screens | Decide whether the patio entrance needs ventilation, insect protection, privacy, or additional seasonal insulation. | Select interchangeable or removable panels according to seasonal use. | Glass panels improve visibility and weather protection, while screens increase airflow. | For homes with strong sunlight or temperature changes, verify panel storage, replacement, and cleaning requirements. |
| Closer and Wind Control | Check whether the door includes a pneumatic or hydraulic closer and a wind-stopping device. | The closer must support the door’s weight and allow controlled closing. | Controlled movement reduces slamming and protects hinges, glass, and the frame. | Use a wind chain or limiting device where recommended, especially on exposed patios or breezy elevations. |
| Accessibility | Review the threshold height, handle position, opening force, and clear passage width. | Keep the route easy to use for children, older adults, and mobility-aid users. | Raised thresholds and stiff closers can create trip or operating hazards. | Compare the finished threshold and hardware with applicable local accessibility requirements. |
| Local Code and Weather Exposure | Check local building requirements and the exposure of the patio entrance to wind, rain, snow, and coastal air. | Use products and fastening methods rated for the site conditions where applicable. | Local requirements may address safety glazing, egress, wind resistance, or corrosion protection. | Confirm requirements with the local building department or a qualified installer before purchase. |
| Final Verification | Recheck width, height, diagonals, sill condition, handing, and hardware clearance immediately before ordering. | Use the smallest width and height measurements in the final comparison. | Accurate final measurements reduce returns, modifications, and installation delays. | Keep a written measurement record and compare every dimension with the selected door’s installation guide. |
Energy efficiency should begin with the door’s U-factor, weather seals, and glass construction. Lower U-factors indicate better insulation. The U.S. Department of Energy reports that low-emissivity storm windows can reduce window heat loss by 25% to 50%. Patio storm doors are not identical, but the principle remains useful. Look for low-e glazing, tight compression seals, and a threshold that limits drafts. Small gaps matter.
Durability depends on frame material, hinge quality, drainage, and local exposure. A coastal home needs corrosion-resistant hardware, while a shaded inland entry may face fewer stresses. The American Architectural Manufacturers Association recommends performance testing for air leakage, water penetration, and structural strength. Ask for test details, not vague claims. Check whether the screen tracks smoothly. It should.
Maintenance is usually simple, but neglect changes the calculation. Clean the bottom track, inspect seals, and tighten hardware twice yearly. Repairing one worn sweep may prevent expensive interior moisture damage. Cost requires more than comparing purchase prices. Include installation, replacement screens, hardware, and future seal repairs. ENERGY STAR guidance emphasizes comparing U-factor and solar heat gain when evaluating fenestration products, although not every storm door carries the same certification. A cheaper door may still cost more if it leaks air or needs frequent adjustment. I would avoid assuming maximum glass always means maximum comfort; direct afternoon sun can create unwanted heat. Davis, California, and Duluth, Minnesota, should not use the same decision rules.